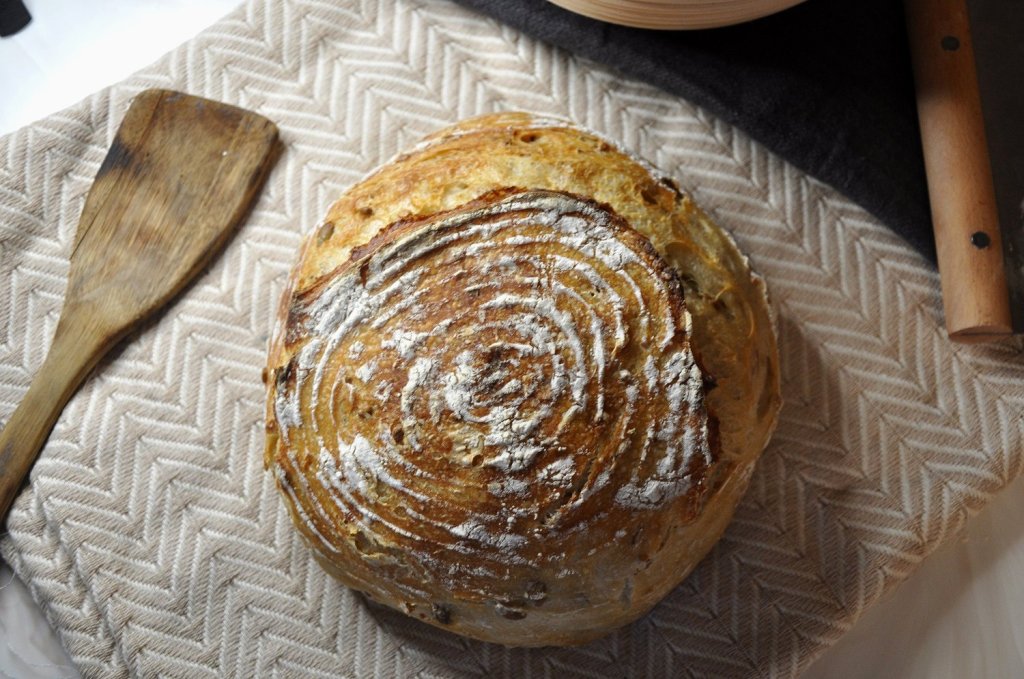
When we first moved to Leelanau County in Fall of 2021, we walked over to our new neighbor’s house to introduce ourselves. They were warm and welcoming, and everything you could hope new neighbors to be. We chatted for a couple of hours as our kids played on the floor and ran around their house, and before we left my new friend said “Do you want some sourdough starter?”
“Uh, sure?!” I replied, mostly being polite but also thinking oh my goodness this is amazing, maybe I can be a sourdough person.
Fully intimidated by the mason jar that was handed to me and what felt like a whirlwind of feeding instructions, she left me with the encouragement “This isn’t precious, don’t worry if you kill it.”
Fast forward a year and some change, and good news! I didn’t kill it. Better news – baking with sourdough has become more than just a hobby to me. It’s been symbolic of starting down a path that values hand-making and slow-living.
As I’ve grown to understand the art of sourdough baking more and my loaves have improved, so have so many aspects of my life.
And while I can’t promise that starting to bake with sourdough will have a profound, positive change on your life — I think you will be pleased to make some really, really good bread.
—
I’ve adjusted and tweaked, tweaked and adjusted this recipe countless of times. Changed the hydration ratio by a matter of a few grams, messed with the autolyse process timing, added these seeds, subtracted those. And while I’ll never stop iterating, I feel like I’ve found the go-to recipe for my sourdough loaf. I’m so glad to share it with you.
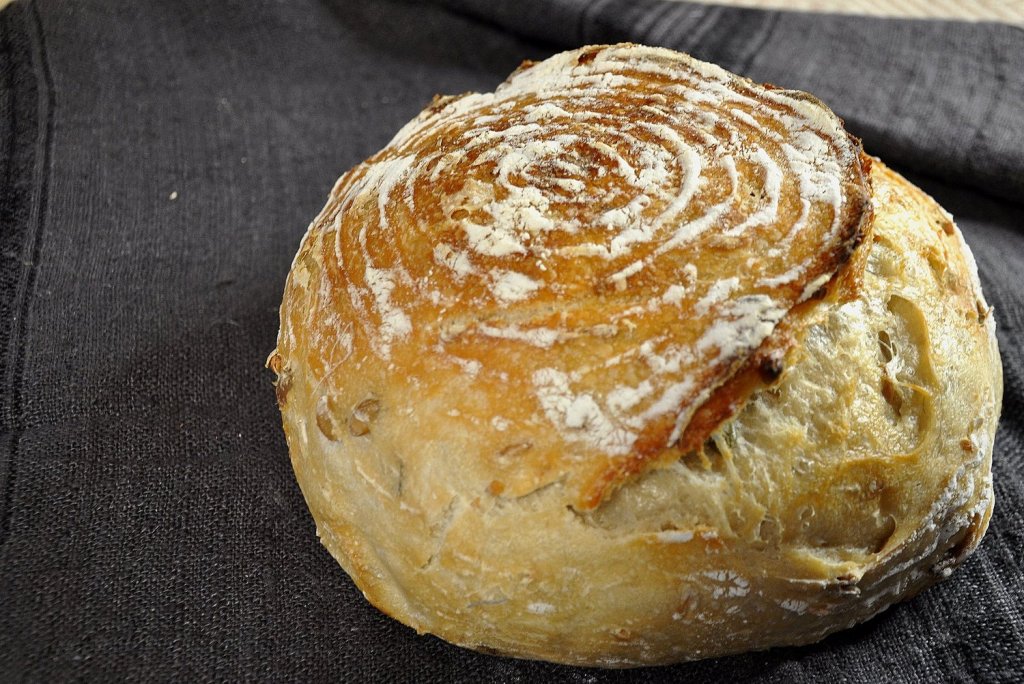
My Go-To Sourdough Loaf Recipe
Ingredients
- 525g all-purpose flour, or a mix of all-purpose and whole wheat (not more than 50% whole wheat)
- 13g sea salt
- 20g sunflower seeds
- 20g raw pumpkin seeds
- 110g active sourdough starter
- 365g warm, filtered water
Instructions
- Place a large mixing bowl on a kitchen scale using the grams metric. Tare so the scale is showing 0g with the empty mixing bowl on top. Start by mixing 525g of flour in the mixing bowl. Add any seeds, and mix with a wooden spoon.
- In a separate bowl, add 110g active sourdough starter with 365g warm, filtered water. Mix well, until the starter is totally combined with the water.
- Slowly pour the sourdough starter / water mixture in with the flour and seeds. Use a wooden spoon to mix together the ingredients until combined. This will get tough to combine towards the end, and you should end up with a shaggy mixture.
- Cover your mixing bowl with a damp kitchen towel, let rest for 30 minutes.
- After 30 minutes, uncover the bowl and add 1/4 of the salt to the sourdough. Mix the salt in by doing stretch and folds. Continue until all salt has been added. Recover with a damp kitchen towel, let rest for 45 minutes.
- After 45 minutes, do a final set of stretch and folds. Cover with a damp kitchen towel for the bulk fermentation, and let rest for 2 -3 hours (2 hours in warmer weather, 3 hours in cooler weather).
- After bulk fermentation, place a large piece of parchment paper (large enough to cover the bottom surface of your loaf) on your counter, and flour lightly. Carefully transfer the dough to your floured parchment, and shape the bread. Transfer the loaf with the parchment paper to the container or banneton for final proofing. Cover, and let sit
- Final proofing can take anywhere from 6-12 hours, depending on the temperature of the environment. As a rule of thumb, your dough should double in size and bounce back when lightly pressed with your finger.
- Next, do a cold proof in the refrigerator. Although not necessary, I like to do a cold proof overnight — at the least, let sit in the fridge for a couple hours before baking.
- Once cold proofing is finished, preheat your oven to 475°F with a dutch oven (recommended) or bread pan preheating in the oven. Allow the dutch oven or bread pan to get nice and hot, for at least 30 minutes before transferring your loaf in.
- Next, we’ll score our dough. This is a fun, creative part that you can play with as your sourdough journey evolves. To start, a simple, single deep score along the middle third of the bread will work. Use a sourdough lame if you have one, or a serrated bread knife if you don’t. Work quickly here — the goal is to keep the loaf out of the fridge and oven for as short amount a time as possible.
- Carefully transfer the parchemtn paper with the loaf on top to your dutch oven. Cover, and let bake for 28 minutes.
- After 28 minutes, remove the lid of your dutch oven and let bake an additional 15 minutes or until the top of your loaf is nice a golden brown.
- Carefully remove the loaf from the dutch oven and set on a cooling rack. Wait at least 2 hours — ideally 4-6 — before cutting so the loaf maintains its moisture.
Enjoy! Once you get in a flow of baking your sourdough, start experimenting by swapping different types of flours, or adding other seeds, seasonings, and ingredients. Some favorites are:
- Different nuts
- Everything bagel seasoning
- Italian herbs
- Cheese
- Apples and Cinnamon
Tag @theblohmstead in your Sourdough Creations!


Leave a comment